The Spaghetti Code Music Player
The Spaghetti Code Music Player 2.2
This has been an intense week with a steep learning curve for me, but I have enjoyed it so much. HTML and web design was a huge hobby for me back in the 90’s when I was little, and this week I have been reminded of how fun it is to be creative with code. To try and fail, endlessly googling for solutions when nothing works, troubleshooting for hours and hours, getting no sleep. And the rush you get when it finally works!
Take a look at the evolution of the Spaghetti Player

The Spaghetti Code Music Player is a simple music player that is loaded with one of my own tracks. The player allows you to play and stop the tune, turn on and off a delay effect and control a filter with your computer mouse. The player also has a volume control.
Research Journal, Mini Project, day 1
I started by googling “Web Audio API” to get some inspiration for my project. I found the Web Audio API samples page with a collection of examples of Web Audio API applications.
Just to get started, I quickly chose the filter sample and figured out that I could use this as a base for my own project. To gather the necessary files, I went into the sources of the web page and found the repository there. The repository contained a lot of different files, both js-files, an html index file, and a css file. I copied everything into my Visual Studio Code workspace and started on studying the files - to see what I could get out of it.
The code was rather complex, and the most of it was way beyond my level of javascript knowledge. But I started with the easier stuff that I could understand, like editing the colours in the css-file and some of the text in the html-file, and then I replaced the sound file from the original js-code with one of my own sound files. Then I figured out that I wanted to add another parameter in addition to the original filter parameter. I thought that adding a volume control would be an easy task to do. I copied the slider in the HTML-file, and then I was going to edit the js-code to make it actually work. For the same Web audio API samples page, I found a volume control.
One of the js-files was the same for these two applications (“shared.js”). I later figured out that this is the file where the the web audio object is applied. To make it work the way that I wanted, was not an easy thing; I used several hours after I got home that evening to actually get it work. But I also learned a lot during this process. When I included the gain-variable in the code, I think I from the beginning understood where to copy-paste it in the code, but some of the brackets were implemented the wrong way. The volume control did something with the sound, but it wasn’t really controlling the volume. Later that day, after a lot of trying and failing, I figured out that it was the routing on connecting the volume to the destination I had done wrong:
I had just connected both filter and gainNode to destination, and that wasn’t working. But this way around worked:
  source.connect(filter);
  filter.connect(gainNode);
  gainNode.connect(context.destination);
It might look like basics if you know Web Audio API from before, but for me, dealing with a lot of Spaghetti code, it was not that obvious before I actually noticed it. The spaghetti factor also gave me inspiration for the title of the player …
By the end of this day there were still some issues with my code:
- when I turn off and on the filter toggle, also the volume control is also effected. I only want the filter effect to be effected by this toggle. -when i turn off and on the filter toggle, the volume control stops working.
For the next couple of days, I also wanted to try to add more parameters to my player, and also include more of what I had learned in this course so far.
At the end of the day, my player looked something like this:
Research Journal, Mini Project, day 2
I quickly found out what was the problem with the volume control from yesterday. I used “if” and “else” to fix this problem:
  };
FilterSample.prototype.toggleFilter = function(element) {
  this.source.disconnect(0);
  this.filter.disconnect(0);
  this.gainNode.disconnect(0);
  // Check if we want to enable the filter.
  if (element.checked) {
    // Connect through the filter.
    this.source.connect(this.gainNode);
    this.gainNode.connect(this.filter);
    this.filter.connect(context.destination);
  } else {
    // Otherwise, connect directly.
    this.source.connect(this.gainNode);
    this.gainNode.connect(context.destination);
  }
};
I find that I’m learning new things all the time. Along the way, I am also taking an introductory course to JavaScript in a mobile app, that helps me a lot to learn the basics.
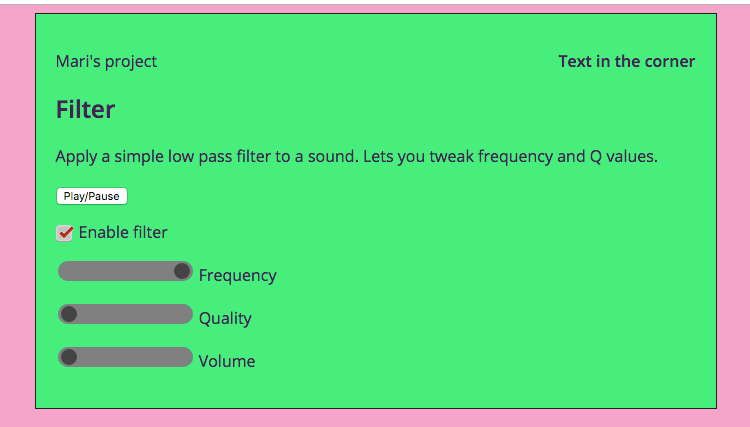
This day I used hours on trying to implement a visualizer in music player; the intention was to make it look like something like this:
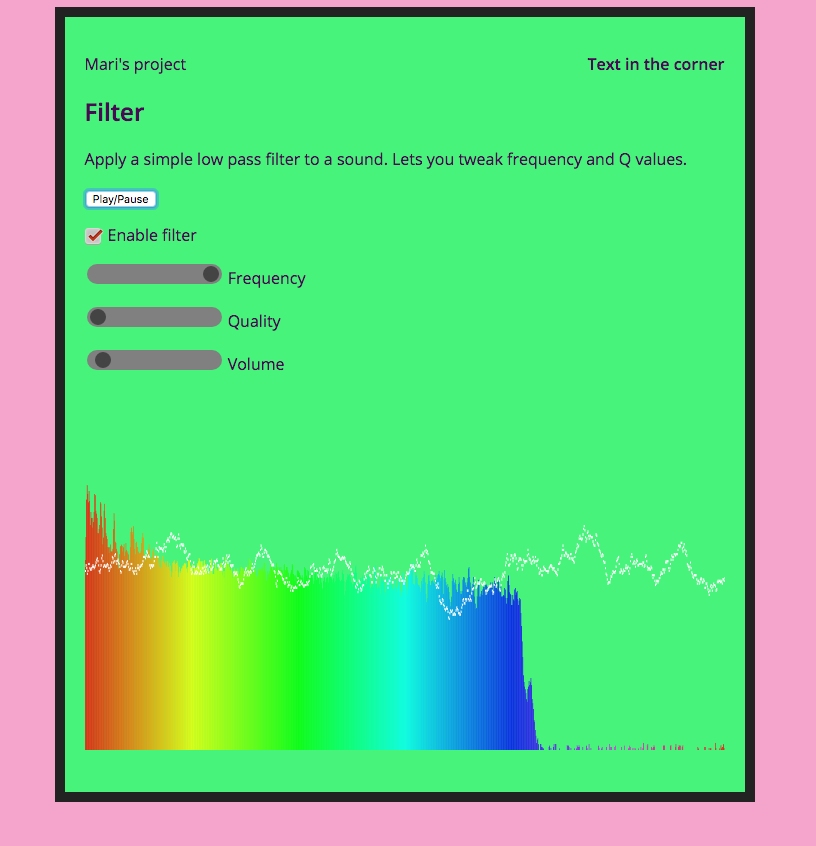
The visualizer code was also taken from the Web Audio Samples Page, and this screenshot is taken during the endless trying and failing sessions when I tried to merge the visualizer code into my code. From the screen shot, it looks like it’s working, but when the visualizer was working, my effects didn’t work and vice versa. I couldn’t succeed with implementing the visualizer into my player, unfortunately, because coders also need to sleep. I did several attempts during the week and weekend, but it seemed unpossible.
Research Journal, Mini Project, day 3
The mission for this day has been:
-try to clean up my code, build it from the beginning.
-implement some things i’ve learned through the week
Today I felt that I learned a lot about from the tutorial lecture about the nodes that I’d already been using. To enhance my understanding I aimed to build a new player with the same effects that I’d been using before. I started by adding the mouse move effect from the first day tutorial to be able to control the filter node with the mouse. This was working perfectly!
        window.onload = function() {
          this.addEventListener('mousemove', function(e) {
          var x = e.clientX;
          var y = e.clientY;
          var width = window.innerWidth;
          //adding height
          var height = window.innerHeight;
          //console.log(width);
          var widthnor = (x/width); // 0-1 range
          var heightnor = (y/height);
          // console.log(widthnor*1500);
          // console.log(heightnor*50);
          //console.log(x, y);
          if (playing == 1) {
            //oscillator.frequency.value = x;
            filter.frequency.value = widthnor*1500;
            filter.Q.value = heightnor*50;
          }
          });
        }
So from this day my project developed in a new direction, but it was definitely related to my previous player. The difference between the two players was that the previous one used sliders to control filter, the new one used the mouse. The new player also had a delay effect, controlled by on and off buttons.
One can say that I’ve almost started on building my code up from the beginning, but not entirely. I think I’ve learned a lot today, crossed a threshold perhaps. While yesterday I understood the if/else statement and was able to implement it in my own code, today I understood how to assign different buttons to different effects and make it work.
I used a lot of time to try to make a volume knob to my “new” project. By this point, I still hadn’t figured out how, and I was wondering if I had to give it up and start on merging my two projects together to one project.
This was how my player looked by now:
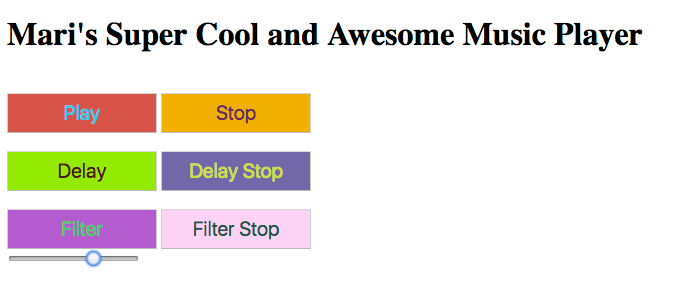
90’s nostalgia!
Research journal, Mini Project, day 4 and rest of the weekend
This was the last day of the first Audio Programming workshop week, and I had to try to finish my project for the presentation and also use some time to prepare my presentation. I decided on cleaning up the code of my “new” player and at least make the volume slider work. With step by step help from Anna, we finally made it! The problem was probably due to signal chain routing.
During the weekend I have mainly been working on the css file and the design of the music player. I should also mention that I replaced the mp3-file with one of my own tunes, composed and produced by me. I have also been fiddling with the idea of replacing the music player with one or more oscillators, to make an instrument out of it instead of a music player. I could still use my filter and delay effect. It turned out that I didn’t have enough time during the weekend to realize this idea, even how much I wanted to try. I once again used too much time failing to make the visualizer work (I thought it would be a really nice feature to my player), with help from different tutorials (this one for instance). Why is it so hard!
In the .css, I changed the colourful theme with a black/pink/purple palette, and made the buttons look rounder. I also added some nice hover effects for the buttons and the slider:
  button:hover {
    opacity: 1;  }
  button:active {
    background: rgb(83, 8, 46); }
I wanted my player to look good in browsers for both phones and computer, and to do that I used percentages instead of pixels for my measurements. Take a look at my container css for instance:
#container {
    margin: 0 auto;
    width: auto;
    max-width: 500px;
    height: auto;
    background: rgb(0, 0, 0);
    padding: 20px;
    border: 10px rgb(68, 7, 38) solid;
    background-image: url("bg5.jpg");
  }
This is the container that my whole player is placed within. When I use margin: 0 auto;, width: auto; and max-width: 500x, I say that the margins of container should adjust to the window. But I chose a maximum-width of 500 px, to prevent it from looking enormous on web browsers. There were still some problems with the margins of the container. It looked symmetrical at this point, but I had placed the buttons in containers inside the container, and when I shrunk the browser window enough, the buttons ended on top of each other. Didn’t look good at all. I thought a solution could be to place the buttons inside of a table instead, but then it didn’t look symmetrical any more. Wow, what a dilemma:

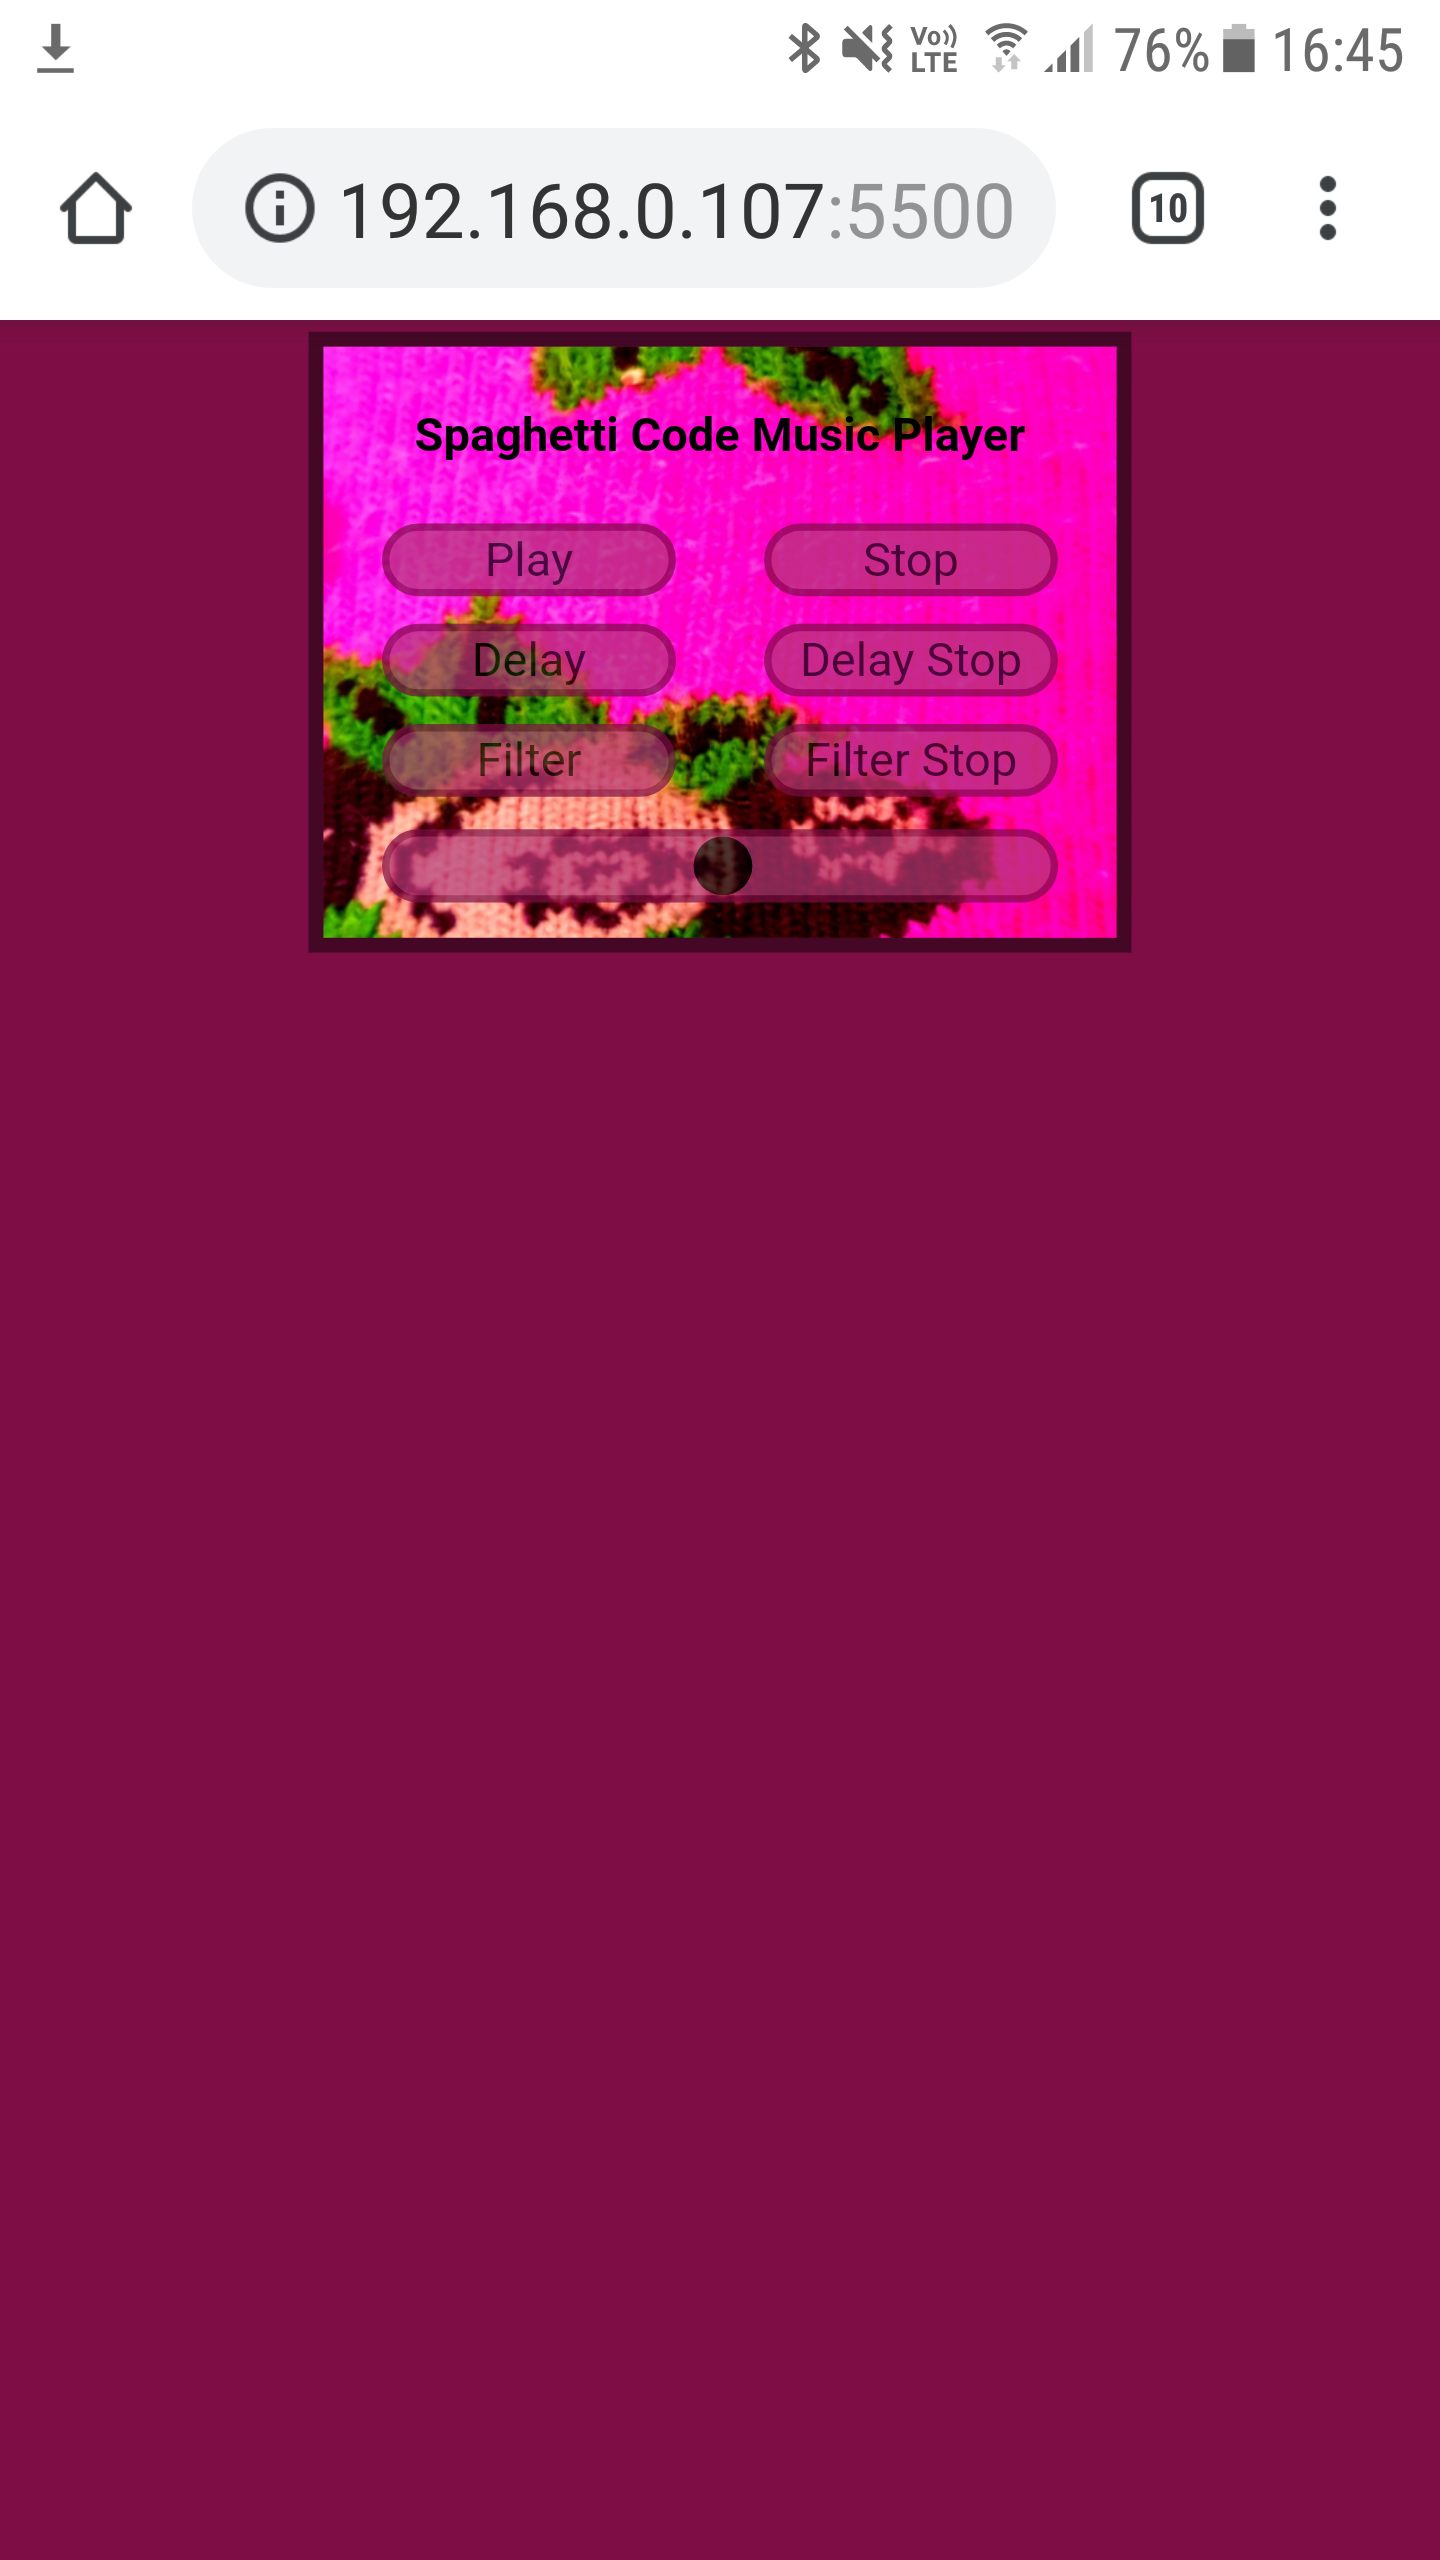
Later I took a close-up photo of my colourful sock and used that as a background. Then I used too much time on trying to make the text look good on top of the background picture. I could have used weeks on trying to make it look better, but I had to draw the line somewhere and declare the player finished, give it a try if you want: https://fractionmari.github.io/SpaghettiPlayer/. And here is the link to the gitHub repository: https://github.com/FractionMari/SpaghettiPlayer
By the way, this is how the player looks on a mobile phone: