Group C - The Koolboard
The Koolboard
The end of the week had come, and the last day of the workshop was here. The final task was to gather everything we had learned and culminate it into an instrument concept. The day was split in two, with the first part of the day being primarily for conceptualization and the last part of the day, dedicated to building our instrument in the mini-hackathon. Up to now, the week had been a mixture of confusion and pleasure in being able to produce and use the technologies we had been introduced to.

Forming our ideas
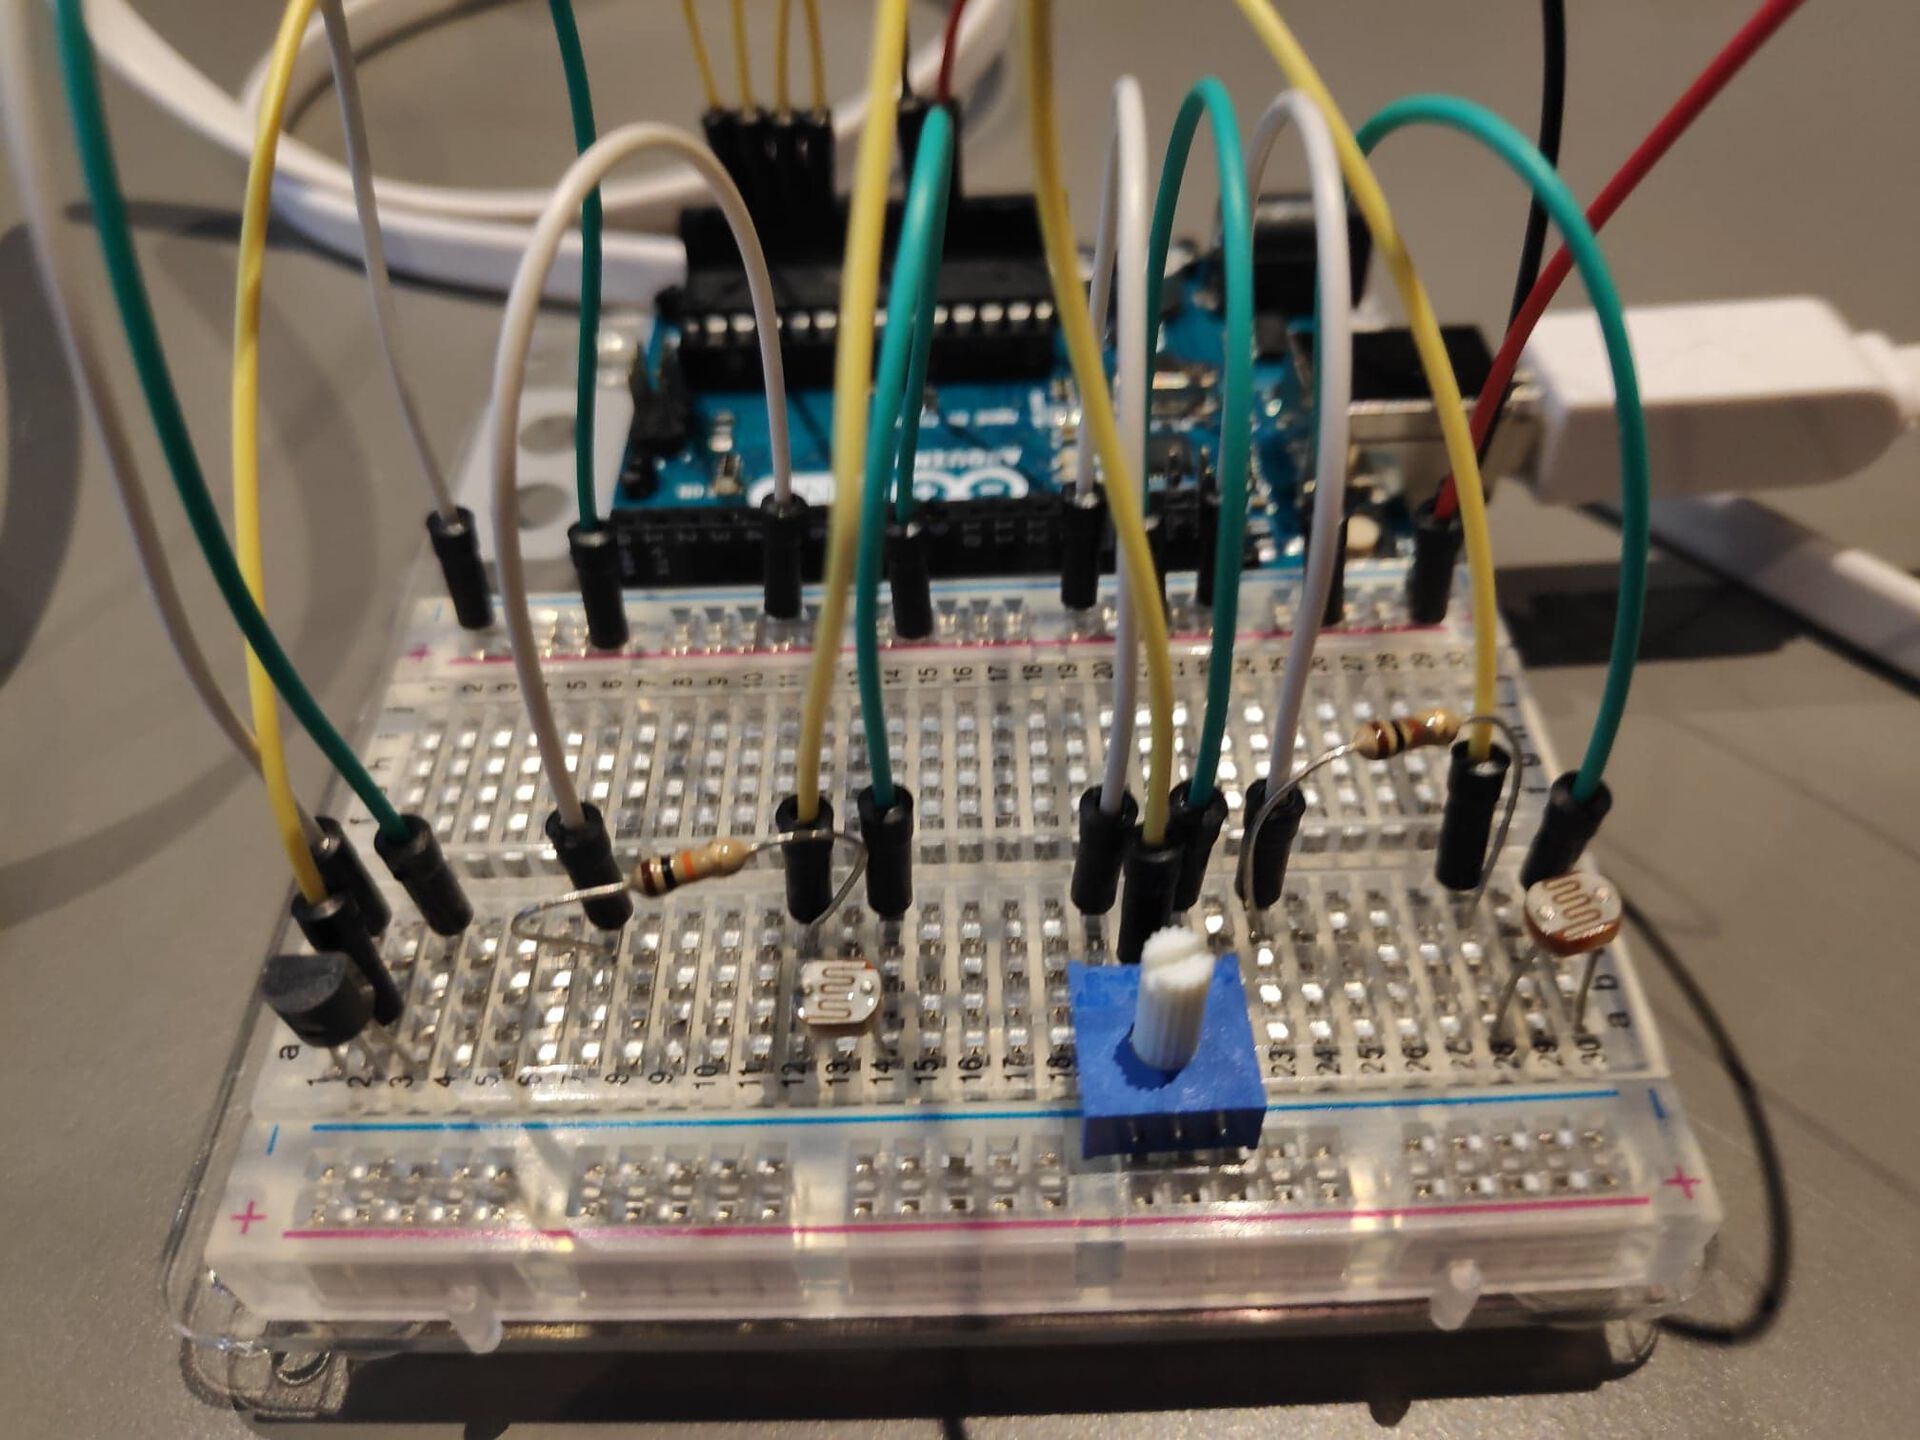
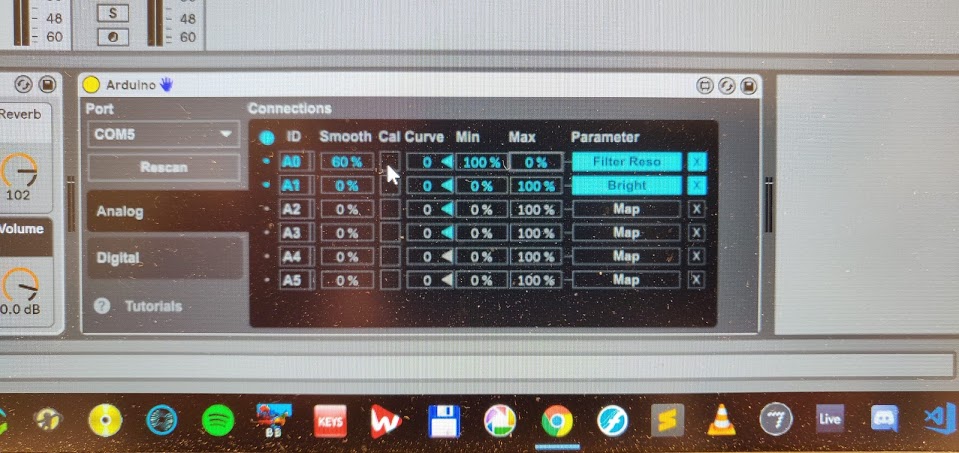
Conceptualizing is not that easy in a educational setting. First of all one has to think about the aesthetic and artistic goals, the wishes of the people in the group all the while thinking of the learning outcomes. The culmination of the workshop needs to show that we had developed skills of computational thinking and programming and had some experience with creating prototypes with low-tech technologies. Initially we thought about sticking to the Korg LittleBits - this would be relatively easy and we could quickly form a working prototype. But after the first break, when we met on Zoom, Elias pitched an idea that was inspired by the temperature of the Oslo Portal room and a glance down on the Arduino sensors we had. Fitting an arduino board with temperatures and light sensors, and routing the data from those into Ableton would allow us to attach different effects to the sensor parameters. For instance, we could fit a reverb filter to the photo-sensor which resulted in the addition of more reverb to the signal whenever there was more light. This we could do with any parameter/effect in Ableton, which produced a powerful instrument.
One of the ingenious things about this setup is that with a normal sound card with a ¼ jack, XLR input or MIDI, you could add just about any signal into the chain and control it with the light and temperature sensor. You could use everything from an electric guitar, voice or even the Korg LittleBits as the initial input in our instrument. This makes our instrument, now dubbed the CoolBoard, into a very versatile instrument. It is also interesting to note that the concept revolves around interaction with the environment it is in. It changes according to location, with the light and temperature sensors picking up the environment. The artist/musician can choose to alter these for artistic purposes, with for example blowing hot air on the temperature sensor or covering the photo sensor with her hand.
Working across campuses:
Making an instrument across two campuses means you have to organize the different tasks/roles in the development of the instrument and also keep each other up to date. Since we were going to develop the prototype of the idealized instrument in just some hours, we had to be in touch with each other all the time, to give updates of the development on both sides. We choose to have a Zoom meeting running in the background while developing, so we always knew where the developing were going. This worked quite well.
Executing and building:
We tried to divide the roles equally among the 4 of us. Elias and Guy started to develop the prototype in Oslo. Trondheim followed up on that and was looking at the same time for options how to extend the instruments on external devices. In Oslo, Guy and Elias added more sensors to the Arduino board, ending up with two Arduino boards for the finale performance. The first board had 2 light sensors and one temperature sensor and the second board had one temperature sensor and a knob for manipulating parameters. Karolina and Eirik tried to add another out/in-put layer with ‘Little Bits’ but were facing some routing issues. Since there was no additional sound card to route our in-signal through we tried to use the Midas mixer in the room with some help from Eigil. The goal was to work with the signal that would be produced by the Arduino sensor, mapped through Max4Live. But we realized quickly that it would have taken too much time and so we kept working with the prototype set up we already had.

Learning outcomes:
With the workshop coming to an end it is interesting to reflect on what we have accomplished. The prototype was finished, and although there was some technical issues we managed to perform with it.
What learning that actually culminates in each student is subjective, but for some of us, we had our first hands on experience with programming. When programming in Javascript, it was quite difficult, because it is somewhat abstract. One does not really see what one does before it is done. This contrasts’ programming with the Arduino, where there is a lot more hands-on activity. One connects different bits, for instance a LED light, and enters a code that corresponds to the components one desires to work with. Being able to understand and execute commands via the computer and see a physical effect on the board (light blinking) was an exciting experience for some of us who has no prior experience.

Expansion of the instrument:
This addition to the Koolboard builds upon the concept of being able to physically interact with the instrument to shape the sound. One of the wishes in the group was to add microphone inputs in the signal chain and that is a central part of this expansion. It derives from the DSP workshop in which we also got an opportunity to test it in a performance setting. The hands-on nature of the instrument further adds to conveying the visual componenent of the musical actions within a performance.

How it works:
The sound material:
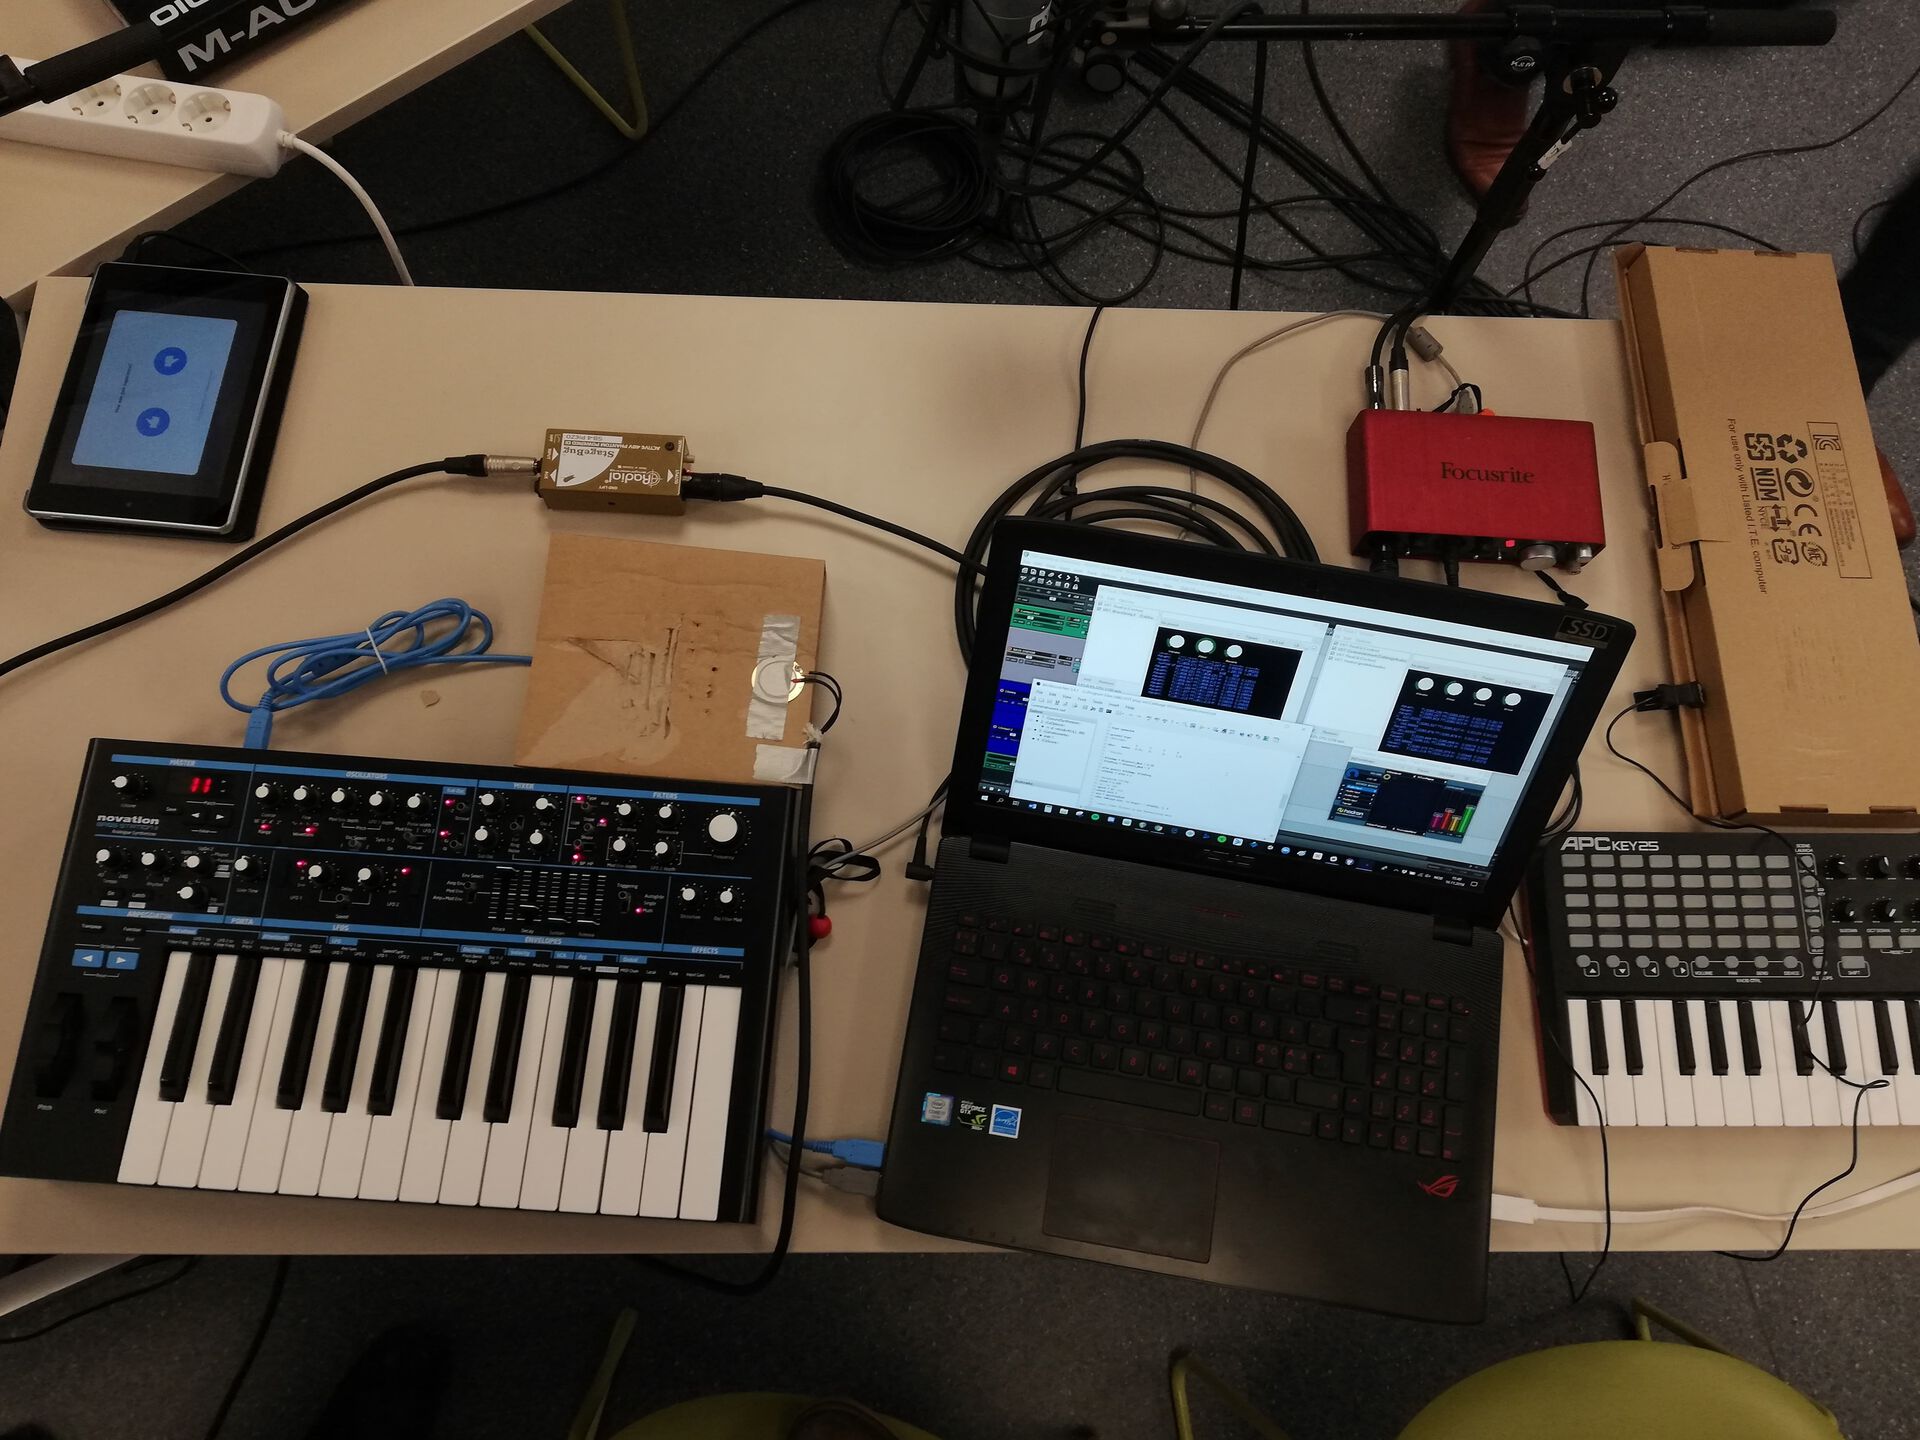
The instrument makes use of waveguides simulating the transient of a string using the input signal from the contact microphones as a source. They’re attached to their respective cardboard box which transfer the sound of the interactions on it to an external sound card. The reasoning behind the choice of going for the piezo route was to ensure that unintentional feedback was kept at a minimum.
CSound code:
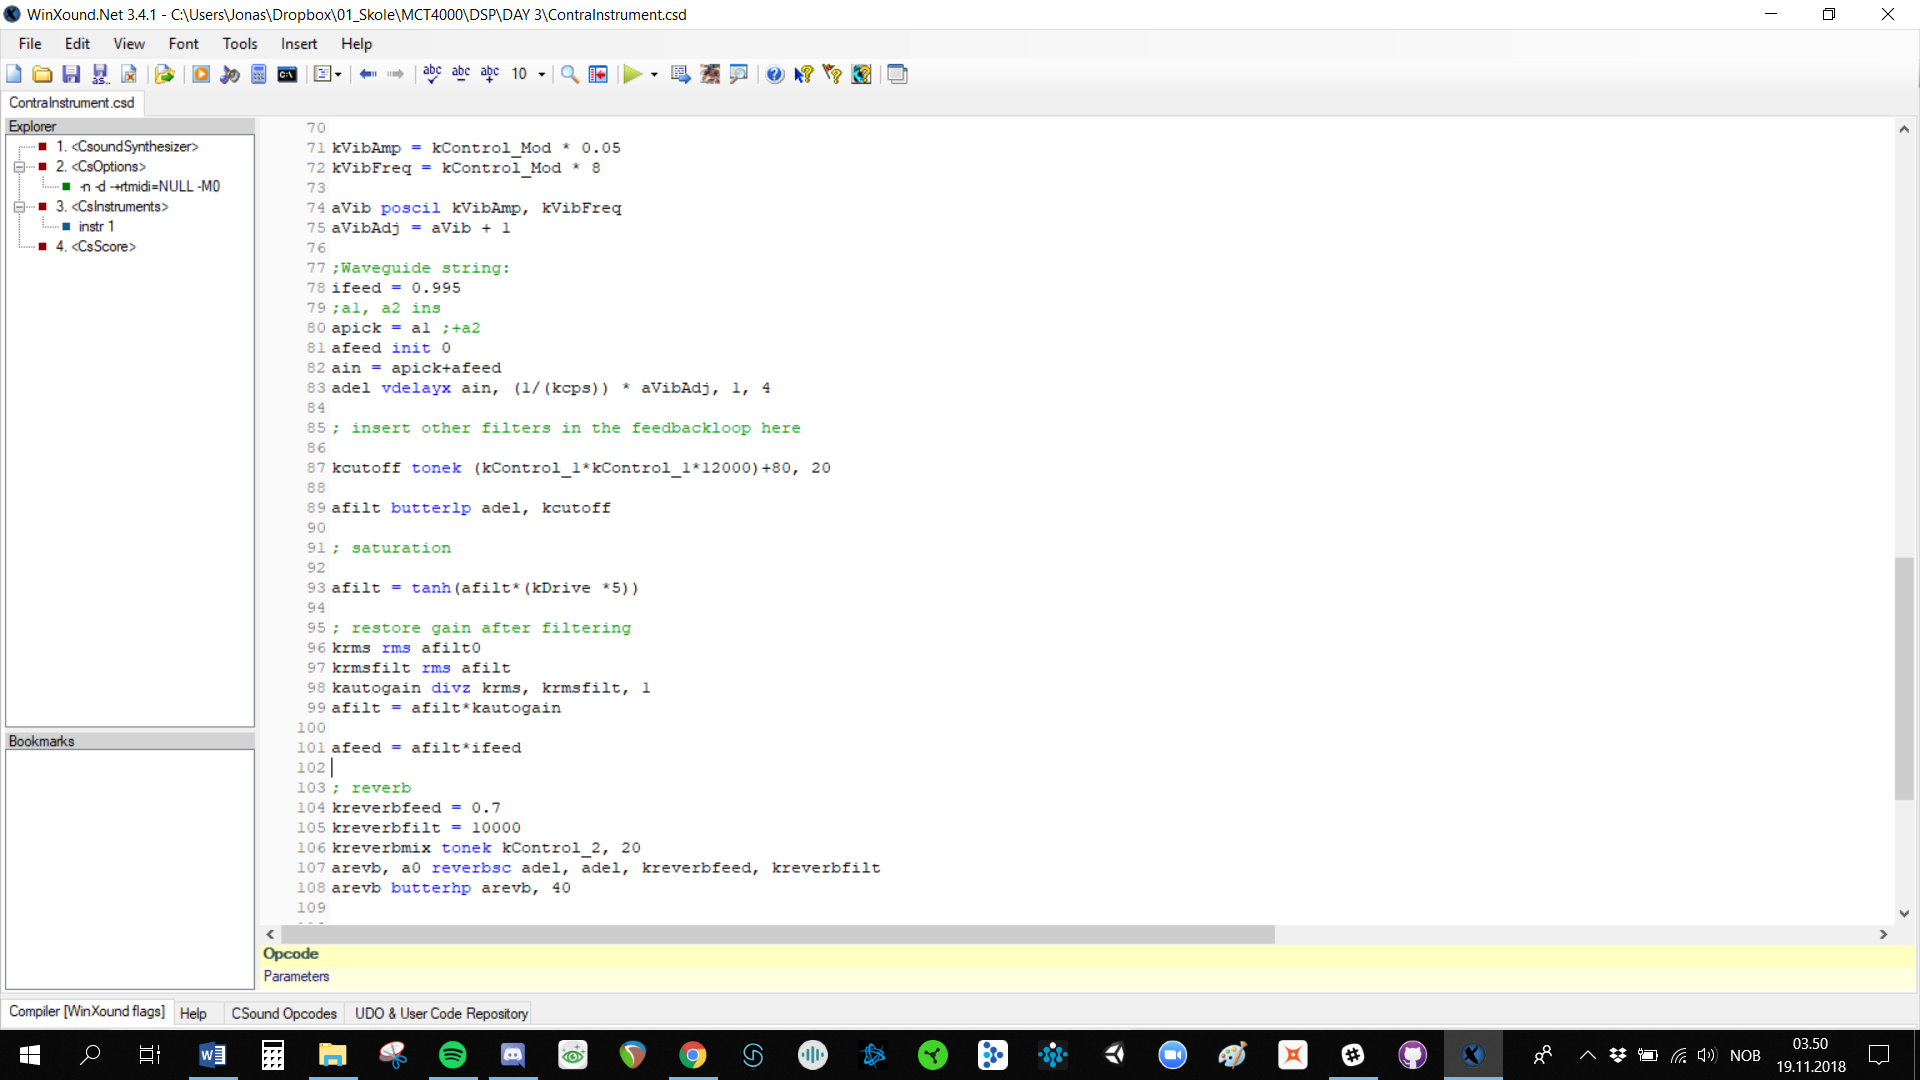
The code contains a few processing techniques that will be briefly explained.
Pitch modulation (MIDI key mapping to adjust the pitch of the string waveguide by setting the corresponding delay time frequency as well as vibrato control.)
Lowpass filter (helps taming the sound dynamically and also has an interesting side effect of pitching down the sound slightly when hard filtering due to the increase in delay time in the feedback loop).
Saturation (Can be used as a tool to make the sound more aggresive while still being pleasant due to the soft clipping. A mix control that fades between wet and dry signal is used to maintain the same level of output at all times.)
Reverb (effective way to shape the size of the sound. The same type of effect level control as in the saturation is used here as well.)

Cabbage:
Cabbage is a software serving as a middelware between CSound and DAWs that can be used to create VST plugins. This is done to centralize the instrument inside a DAW making it possible to combine multiple VST’s and inputs from both microphones as well as MIDI controllers.
Even though one of its features is to design a GUI, the decision was made to keep it minimalistic with black and white interface with a debugging screen in order to have total control of what’s going on. Cabbage can be a bit unstable, so this feature helped a lot during troubleshooting.
DAW:
Reaper was chosen for this purpose at it is very cooperative with the Cabbage plugins as well as being Jonas’ digital audio workstation of choice.
Here the contact microphone signals run to their own dedicated tracks before routing them further to two tracks with separate MIDI controller inputs.
A third party unique processing plugin made by Øyvind Brantsegg called Hadron was also used. The plugin can load four different processing effects that can be mapped to each corner of a XY pad. This way two knobs could be mapped to fade in between these effects as desired throughout the performance. The effects used within that plugin were of the likes of grain delay, flanger, tremolo.
The result of the processing within the plugins as well as the Hadron Particle Synthesizer was then sent back out of the external soundcard in stereo to the mixer to Oslo for them to hear and process it further.

Conclusion:
Once set up the instrument quickly became intuitive to use for all of the team members in Trondheim. We also managed to express ourselves during the performance with a large variety of sounds even though the source material originated from handling a cardboard box. As the instrument requires you to play on the cardboard box as well as handling the MIDI keyboard and its slider controls it can literally get out of hand as well. You might want to have a seperate performer playing the box and another to ensure that you’re not limited, and as long as you communicate well and observe each other then it will not be a limitation to the musicality.
